Finished Product
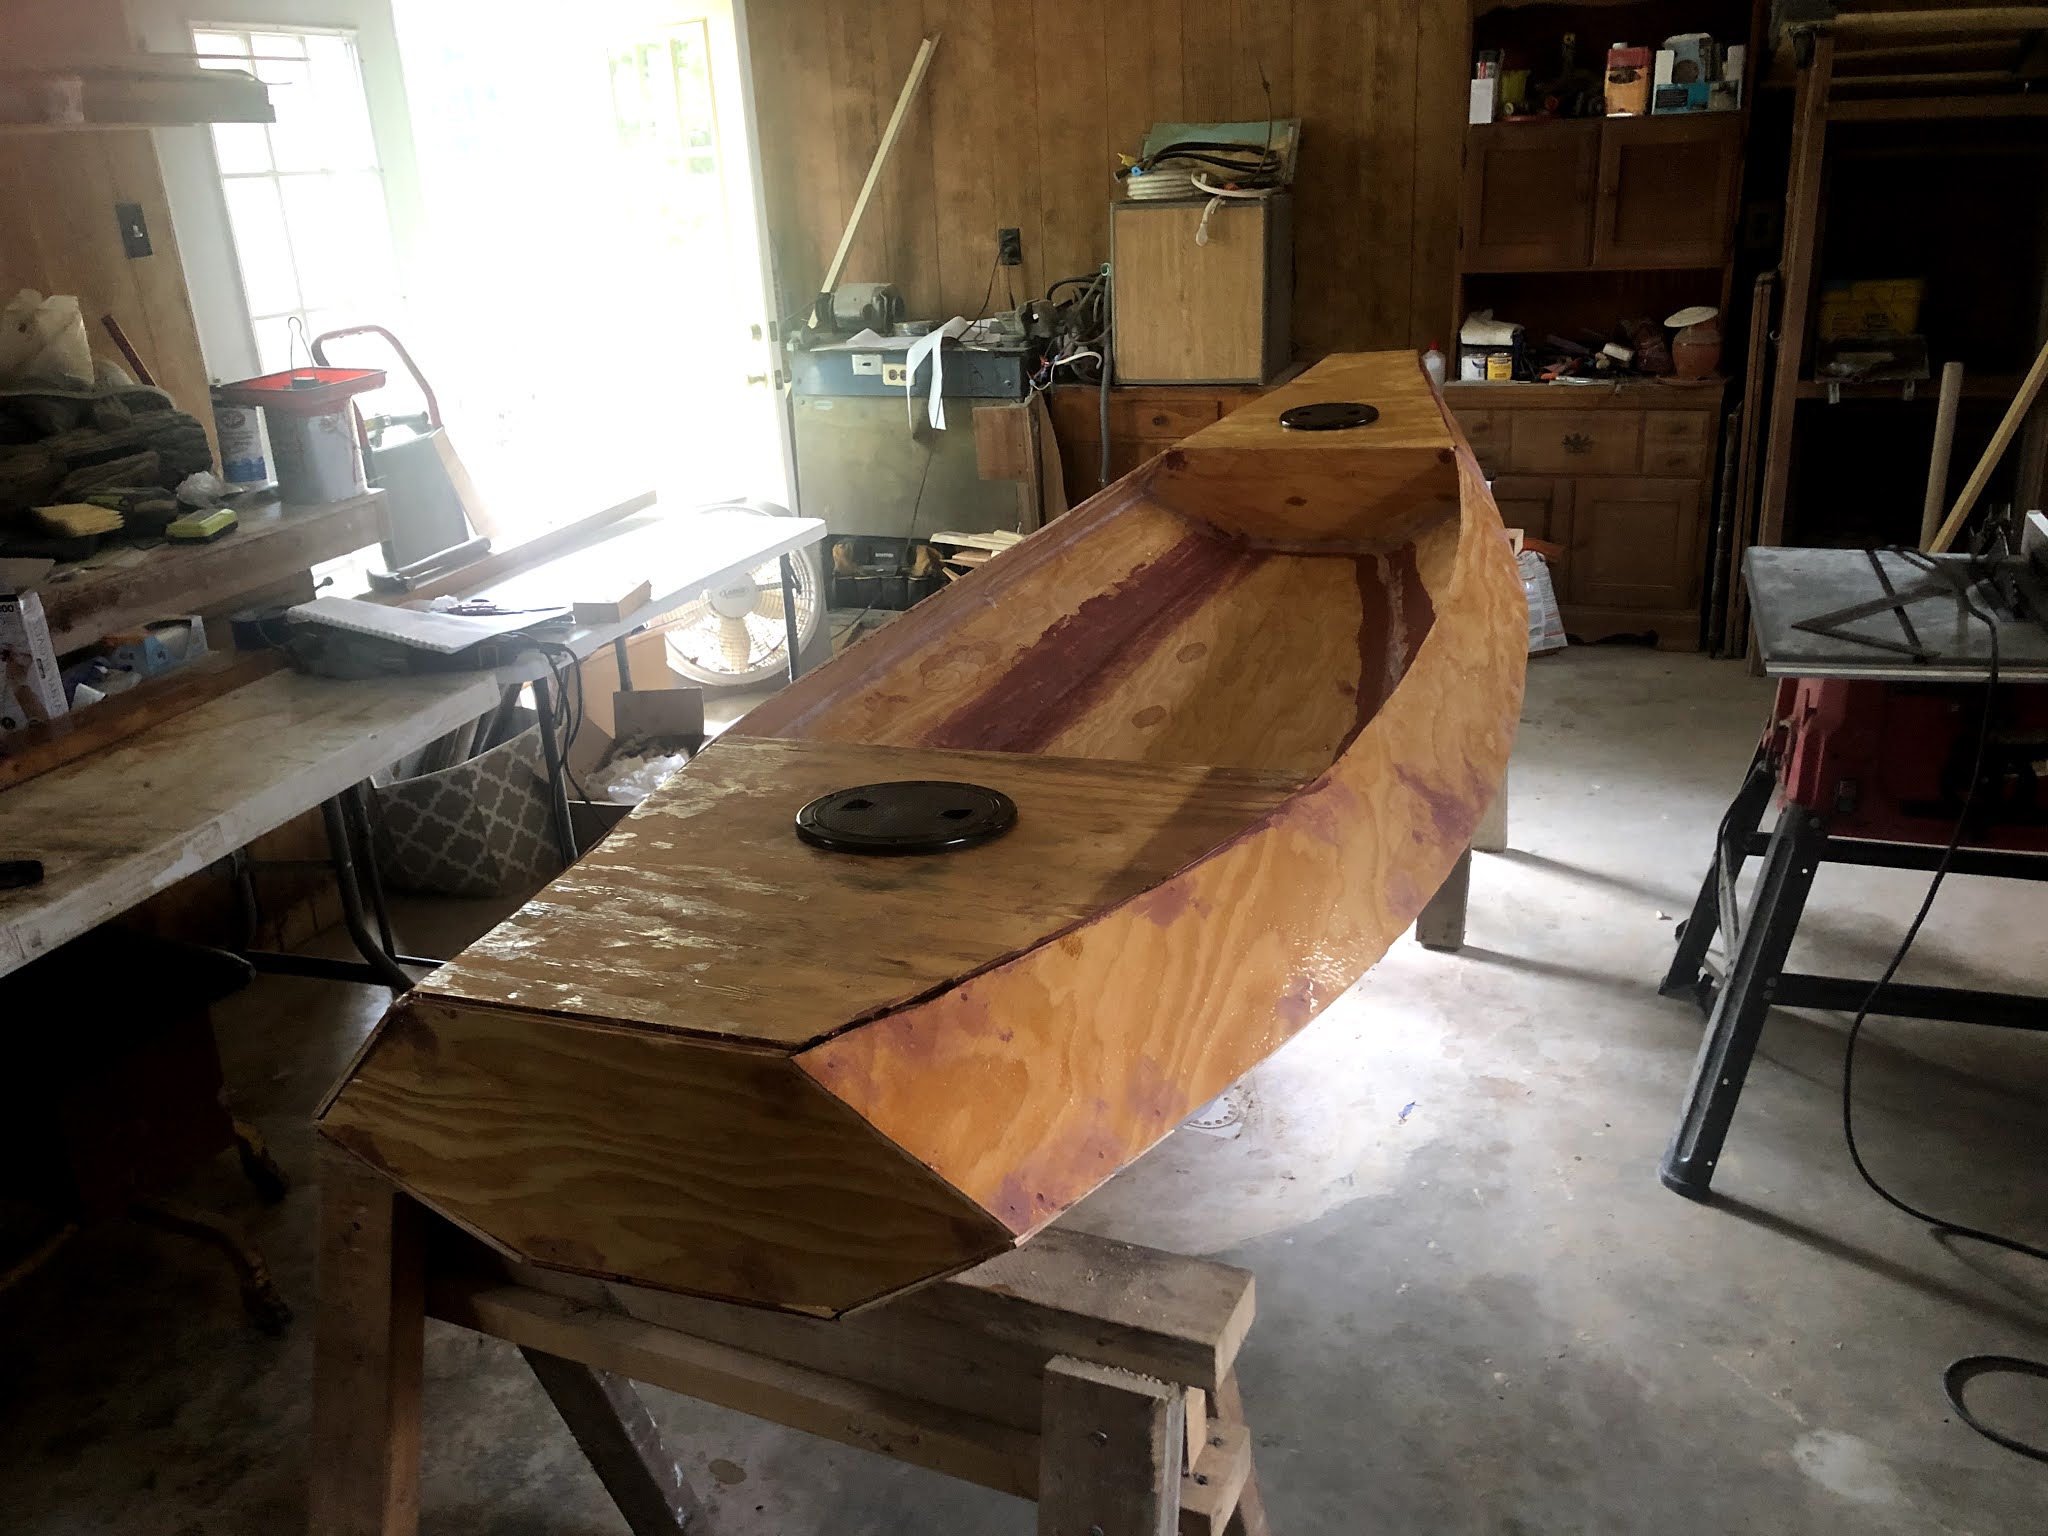
Fittings installed in bow and stern decks. The Water Rat is all finished, named, and ready to launch. I am still working on a dolly made with PVC pipe, various nuts and washers, and Harbor Freight tires. That will make it easier for an old man like me to get it from the truck to the water.


Next Step
Go rowing!!! Thanks for following.